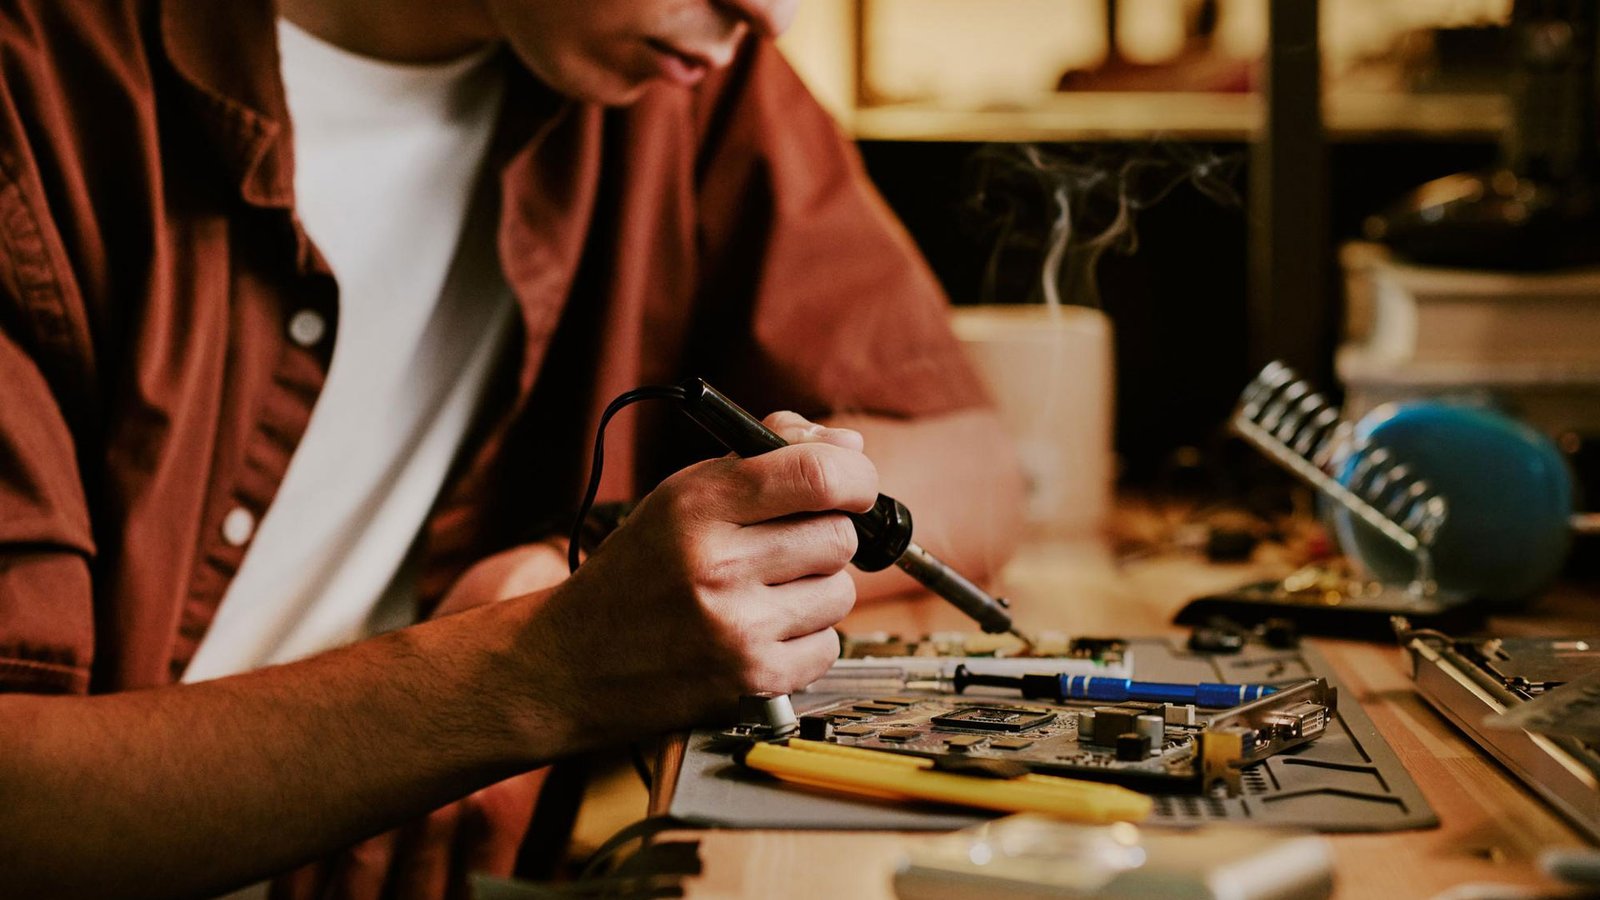
Hey there, young inventors! Have you ever dreamed of creating your very own tech gadgets at home? Well, guess what? You can! With some simple tools and a dash of creativity, you can build cool tech devices that will amaze your friends and family. Let’s dive into the world of DIY gadgets together!
Starting with everyday items like cardboard, old CDs, or even a few wires and batteries, you can put together something incredible. Imagine making a mini robot that follows light, or a simple alarm system to keep your secret diary safe. It’s not just about fun, it’s about learning, too. By building DIY gadgets: simple projects to build your own tech devices, you’re actually getting a sneak peek into how the tech world works. You’ll learn about circuits, energy, and even coding, depending on what you decide to create.
Don’t worry if you’re not a tech wizard yet. There are tons of tutorials online that are made just for beginners. They’ll walk you through each step, from gathering materials to putting the final touches on your gadget. Plus, you’ll get that awesome feeling of accomplishment when you see your creation come to life. It’s like being a magician, but with technology!
So, what are you waiting for? Grab your toolbox, get your thinking cap on, and start exploring the amazing things you can do with tech. Not only will you impress everyone with your new creations, but you’ll also gain some super cool skills along the way. Let the crafting begin!
Make Your Own Mini Speaker
Are you a music enthusiast looking to add a personal touch to your listening experience? Crafting a mini speaker is a fun and rewarding project that you can accomplish with some basic materials. To get started, you’ll need a small cardboard box, which will serve as the body of your speaker. The size of the box can vary, but a smaller one will make for a more portable speaker.
Next, gather some electric wire, which will be used to create the connection between the speaker cone and the magnets. You’ll also need a few magnets; these will work with the wire to produce sound when they interact with the electrical signal. Lastly, you’ll require a speaker cone. This is the part that actually moves to create the sound waves we hear as music. You can find one online with a simple search or at a nearby electronics retailer.
Now, let’s put it all together. First, attach the speaker cone to the box. You can do this by cutting a hole in the box that’s slightly smaller than the cone itself and securing it in place. Make sure it’s tight so that the cone doesn’t move around, which could affect the sound quality. Then, connect the wire to the cone. This might require some soldering, so if you’re new to this, you may want to ask an adult for help or look up a tutorial online.
Finally, connect the other end of the wire to the magnets. The magnets should be placed on the outside of the box, directly behind where the cone is mounted on the inside. When you send an electrical signal through the wire from your music-playing device, the interaction between the electric current and the magnets will cause the cone to vibrate, producing sound.
And there you have it! You’ve just created your very own mini speaker. Now you can enjoy your favorite songs with a device that you built yourself. Remember to test your speaker with different types of music to see how it handles various sounds. Have fun experimenting and enjoying your custom tunes!
Build a Brilliant LED Flashlight
Are you afraid of the dark? No worries! Building an LED flashlight is easy and fun. You’ll need an LED bulb, a battery, a switch, and something to hold it all together, like a plastic tube or a small box. Connect the bulb to the battery with the switch in between, and you’ve made light in the darkness. How cool is that?
Gather Your Materials
First things first, let’s make sure you have everything you need. Your shopping list should include:
- A bright LED bulb
- A compatible battery (like AA, AAA, or 9V, depending on your bulb)
- A simple push-button switch
- A plastic tube or a small box to serve as the flashlight body
- Electrical wire
- Soldering iron and solder (or electrical tape if you’re not comfortable with soldering)
Once you have these items, you’re ready to start building!
Assemble Your Flashlight
Now, let’s put it all together. First, connect the LED bulb to one end of the switch using the electrical wire. If you’re using a soldering iron, carefully solder the wire to the bulb and switch. If not, twist the wires together and secure them with electrical tape.
Next, attach the other end of the switch to the positive end of the battery. This will allow you to control the light with a simple click. Again, make sure your connections are secure, either by soldering or using electrical tape.
Finally, connect the negative end of the LED bulb to the negative end of the battery. This completes the circuit, and your flashlight should now light up when you press the switch!
Secure Everything in Place
Almost done! Now you need to secure all the parts inside the plastic tube or box. Make sure the switch is easily accessible so you can turn your flashlight on and off. You might want to use glue or tape to keep everything from moving around inside the flashlight body.
There you have it—a handy LED flashlight that you made yourself! Not only is it useful, but it’s also a great way to learn about simple electronics. Plus, it’s a fun project to do at home or at school. So the next time the power goes out, or you’re setting out on a camping adventure, your trusty flashlight will light the way!
Craft a Custom Game Controller

Are you a fan of video games? Imagine playing with a game controller that you made yourself! It’s not only possible, it’s also a fun project that can be done at home. To start, you need a microcontroller – think of it as the brain of your controller. Popular ones like Arduino are perfect for beginners. Along with this, grab some push buttons for actions like jump or shoot, and some wires to connect everything together.
First, sketch a design of your controller on paper. Think about where your hands feel most comfortable. Should the jump button be on the left or the right? It’s your design, so you decide! After planning, arrange the buttons on a piece of cardboard or plastic to create a prototype of your layout.
Next, it’s time to connect the buttons to the microcontroller. This is where your simple circuit comes to life. Each button will have two wires: one connects to the microcontroller, and the other to a common ground. This might sound tricky, but there are plenty of guides and tutorials online that show you step by step what to do.
Finally, with all the hardware in place, you need to program your microcontroller. Don’t worry, you don’t need to be a coding genius. Many microcontrollers come with easy-to-follow programming instructions. You’ll be writing simple commands that tell your computer or game console what to do when a button is pressed.
After some testing and tweaking, you’ll have a functional, custom game controller. You’ve not only created a unique piece of gaming equipment, but you’ve also learned about electronics and programming. So, power up your favorite game, and enjoy the satisfaction of playing with a controller that’s truly one of a kind!
Create a Clever Alarm System
Do you have something precious like a secret diary that you want to keep away from prying eyes? Building a simple alarm system is a fun and effective way to protect your private items. With a few basic components, you can create a gadget that alerts you whenever someone tries to sneak a peek. Here’s what you need and how to put it all together.
Gathering Your Materials
Firstly, you’ll need to gather a few key items:
- A buzzer: This is what makes the noise when your alarm is triggered.
- A sensor: Choose between a pressure sensor, which activates under weight, or a motion detector, which senses movement.
- A battery: This will power your alarm system.
- Some wires: These will connect all your components together.
You can find these items at most electronics stores or online.
Setting Up Your Sensor
Next, decide where you want to detect intruders. If it’s a diary, you might place a pressure sensor between the pages or beneath the diary’s resting spot. For a motion detector, position it so that it points towards the entryway to your room or the place where your diary is kept. Make sure it’s hidden so it won’t be noticed by anyone but you.
Wiring It All Together
Now, it’s time to connect your components. Take your wires and carefully attach one end to the sensor. Connect the other end to the buzzer. Then, using another piece of wire, connect the buzzer to the battery. This creates a circuit, and when the sensor is activated, the circuit completes, and the buzzer will sound an alarm.
Testing Your Alarm
Before you set up your alarm for real, it’s important to test it. Place the sensor where you plan to keep it, connect the battery, and try triggering the sensor by applying pressure or moving in front of it. You should hear the buzzer make noise. If it doesn’t, double-check your connections and make sure the battery is charged.
Securing Your Secret Spot
Once your alarm is working, it’s time to set it up. Place your sensor in its final spot and hide the wires as best as you can. You might tape them along the edges of furniture or run them under a rug. Just make sure they aren’t visible and won’t be tripped over. Now, your secret diary is guarded with your very own custom-made alarm!
Remember, this alarm system is simple but effective. While it’s great for keeping out nosy siblings, it’s always good to have additional layers of security for anything truly valuable. But for everyday privacy, your clever alarm system is the perfect solution. Happy tinkering!
Assemble a Solar-Powered Charger
Ever been outside enjoying the sun and suddenly your phone battery dies? Solar-powered chargers are a great solution to keep your phone charged when you’re on the go. Let’s look at what you need and the steps to put one together.
Firstly, you’ll need a solar panel. This is the heart of your charger, capturing sunlight and converting it into electrical power. Solar panels come in different sizes and power capacities, so choose one that’s portable and provides enough power for your needs.
Next, you’ll require a rechargeable battery. This battery stores the power from the solar panel. Think of it like a water tank that holds water until you need it. You’ll want a battery that can hold a good charge and fits well with your solar panel’s output.
Then, you’ll need a charging circuit. This is like a smart manager for the power flowing from the solar panel to the battery. It ensures that the battery charges safely and efficiently, without getting overcharged or damaged.
Lastly, gather the right connectors for your phone. These connectors are like keys that match the lock on your phone’s charging port. Make sure you have the correct type – whether it’s USB-C, micro-USB, or lightning – so that your phone can plug into the battery and get charged up.
Now, let’s put it all together. Connect the solar panel to the charging circuit. This allows the energy from the sun to pass through the circuit safely. Then, connect the battery to the charging circuit. Finally, attach your phone connector to the battery. With these connections, you’ve created a path for the sun’s energy to flow into your phone.
And there you have it! With your new solar-powered charger, you can harness the sun’s power to keep your phone alive. Whether you’re camping, hiking, or just spending a day at the park, you’re all set to stay connected.
Time to Show Off Your Creations!
Wow, look at all the awesome gadgets you can build! Remember, always ask an adult for help when you’re working with tools and electronics. Have fun creating, testing, and improving your DIY gadgets. Share them with your friends, and maybe even teach them how to make their own. Keep inventing, and who knows? You might be the next big tech genius!


